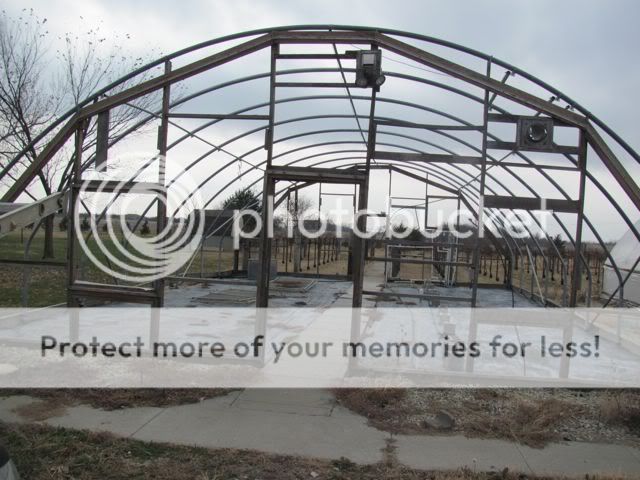
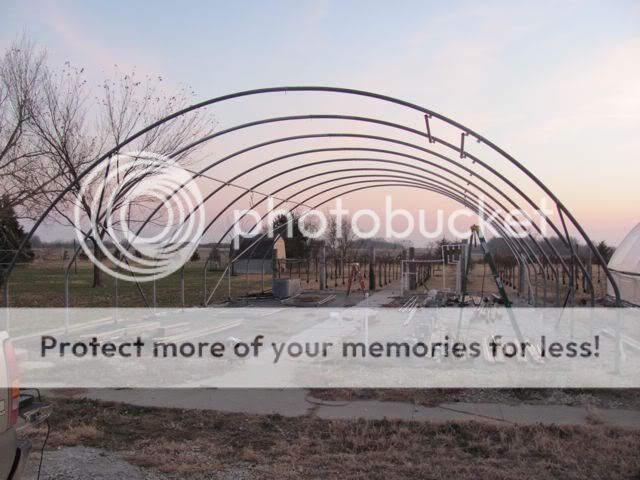
Along the way the 2 by 6 that goes along the edge of the hoop had to be attached. All of these pieces were marked when I took them down and when I put them back up, I was matching cut nails and nail holes. I guess I did a good job!
We still need to add some bracing and blocking between the posts, frame in for the doors and make the doors. Finally, we will add the plastic to the endwalls. Once the plastic is on the endwalls, we will be ready to pull the plastic over the whole building. Once that is done, we will take the smaller hoop building down (in the warm, wind free comfort of the bigger hoop building and reconstruct it at a new location.
All in time, well before planting time that is!
High tunnel when I bought it.

Tunnel with Ends out

Tunnel constructed one hour west of it previous location

Tunnel with endwalls reinstalled

Just a different angle

New home for the small inside hoop


No comments:
Post a Comment